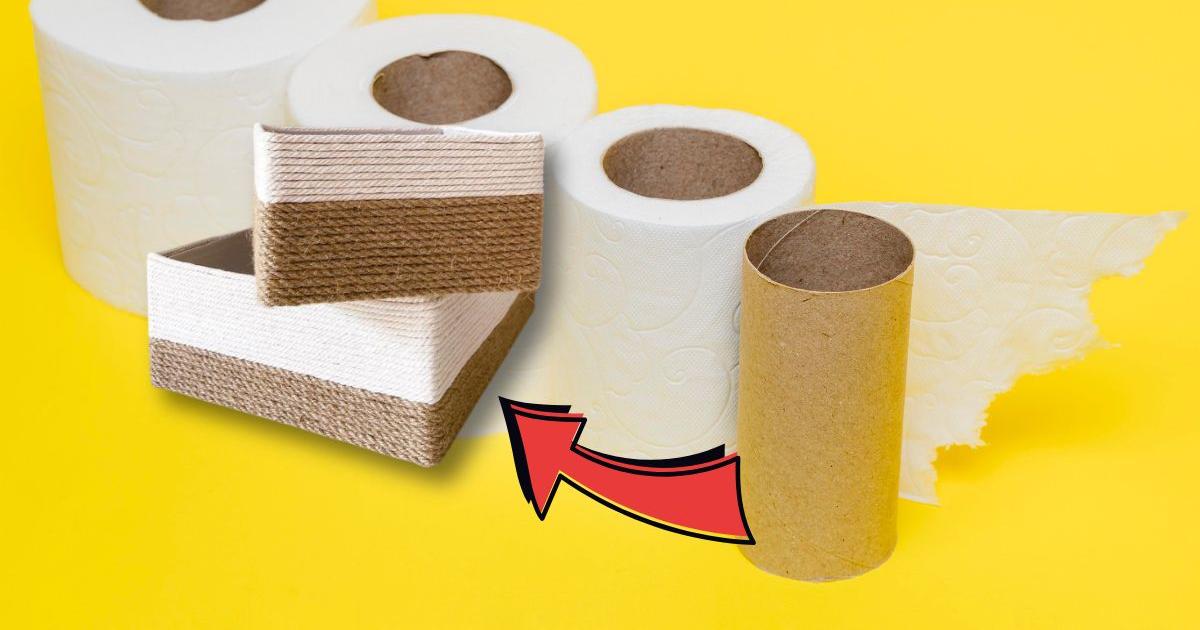
If you like home crafts and decorations made with recycled materials, this idea will enchant you. The toilet paper cardboard tubes that typically end up in the trash can be turned into a very practical napkin holder for organizing the napkins in the kitchen or dining room, with a rustic finish that pairs very well.
The best part of this DIY project is that you don’t need to buy a new structure or use materials that are too complicated. With jute rope, cardboard, popsicle sticks, and some toilet paper tubes you can assemble a small square basket that, besides helping you keep the napkins in order, also serves as a small decorative accessory for the table.
In addition, you can personalize it according to your home’s style. The jute rope provides a natural coffee-brown tone that pairs with wood and neutral colors, while the popsicle sticks give it a more detailed finish. Below, we share the step-by-step so you can do it at home and make use of those materials you already have on hand.
How to make a napkin holder with recycled materials step by step
-
Toilet paper cardboard tubes.
-
Jute rope.
-
Two pieces of recycled cardboard measuring 18 × 18 centimeters.
-
Popsicle sticks.
-
Hot glue.
-
Scissors.
-
Ruler and pencil.
-
Felt to cover the bottom, optional.
Step-by-step instructions
1. Prepare and cover the cardboard tubes
Take the toilet paper tubes and gently flatten them with your hands to mark the folds that will help give them a more compact shape. Then make additional folds to divide each tube into three sections, without crushing it completely, so that it retains enough interior space to form the sides of the napkin holder.
Now start wrapping the jute rope around each tube until the entire surface of the cardboard is covered. Apply small amounts of hot glue as you progress to prevent the rope from coming loose and try to keep the turns very close together, without leaving too many visible gaps. Repeat the process with all the tubes you need to cover the outline of the base.
2. Build the base of the napkin holder
With the help of a ruler, measure and cut two squares of cardboard 18 × 18 centimeters. Place one piece on top of the other and glue them with silicone to form a firmer base that can support the weight of the tubes and the napkins. If the recycled cardboard is thin, you can use a third layer to reinforce the structure, as long as the pieces align well.
Once the glue dries, check that the edges are even and that the base does not bend easily. If you want a more uniform finish, you can cover the surface with jute rope or a piece of fabric before placing the sides.
3. Glue the tubes around the base
Place the wrapped tubes upright along the contour of the cardboard and start gluing them one by one. We recommend starting at a corner and securing the first tube well before continuing, since that piece will serve as a reference for placing the others. Then distribute the rolls along the four sides to cover the base’s perimeter.
Make sure the tubes sit close together and maintain a similar height so the napkin holder has a neat appearance. Before fixing the last piece, check that the arrangement closes the square correctly and that there isn’t too much space between the rolls.
4. Decorate the edges with jute rope
When all the tubes are firmly attached, add a strip of jute rope around the top edge to reinforce the structure and hide the ends of the cardboard. You can glue it with small drops of silicone and press gently to keep it in place.
If you want to give it a different design, you can use the popsicle sticks on the outer sides. Place them vertically between the tubes or on the front surface, depending on the style you prefer, and fix them with silicone.
5. Place the bottom finish and let dry
To finish, cut a square of felt the size of the base and glue it underneath the napkin holder. This helps cover the cardboard, improve the piece’s finish, and reduce the risk of the base scratching the table when you move it.
Leave the glue to dry completely before placing the napkins. Check that the tubes do not move and that the rope is securely fastened at all ends. When it’s ready, you can use it to organize paper napkins and keep them within reach during meals.
