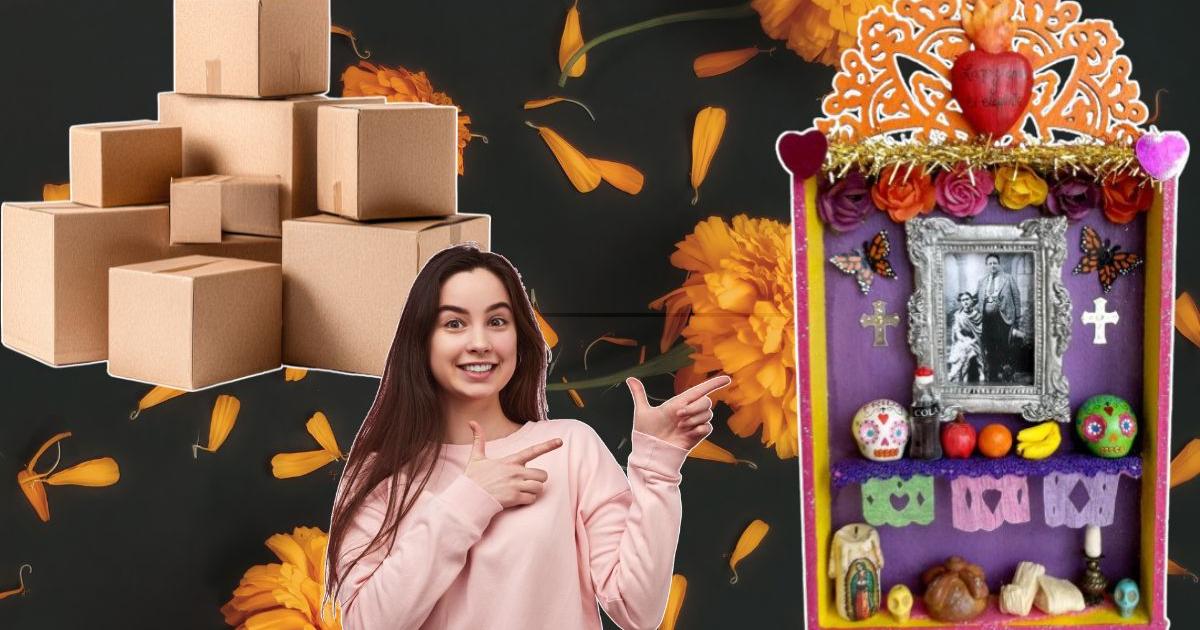
Decorate in an original and simple way with these ideas for your offering, without the need for extra expenditures on the family budget.
A few weeks before the November festivities begin, buying decorations and temporary furniture to set up the altar usually involves a considerable expense and an unnecessary accumulation of disposable plastics in Mexican homes.
In this sense, adopting recycling not only eases the family budget, but also promotes a more environmentally conscious celebration. It is time to recycle cardboard boxes to build from sturdy multi-level structures to original decorations to welcome the loved ones who have passed away in the coming weeks.
With scissors, paint, and glue, it is possible to transform household waste into a colorful traditional offering, sustainable and totally economical for the home. And indeed, giving a second life to the cardboard accumulated at home allows you to customize every corner of the altar with a unique handmade touch.
1. Fold-out and Portable Altar in a Cardboard Box
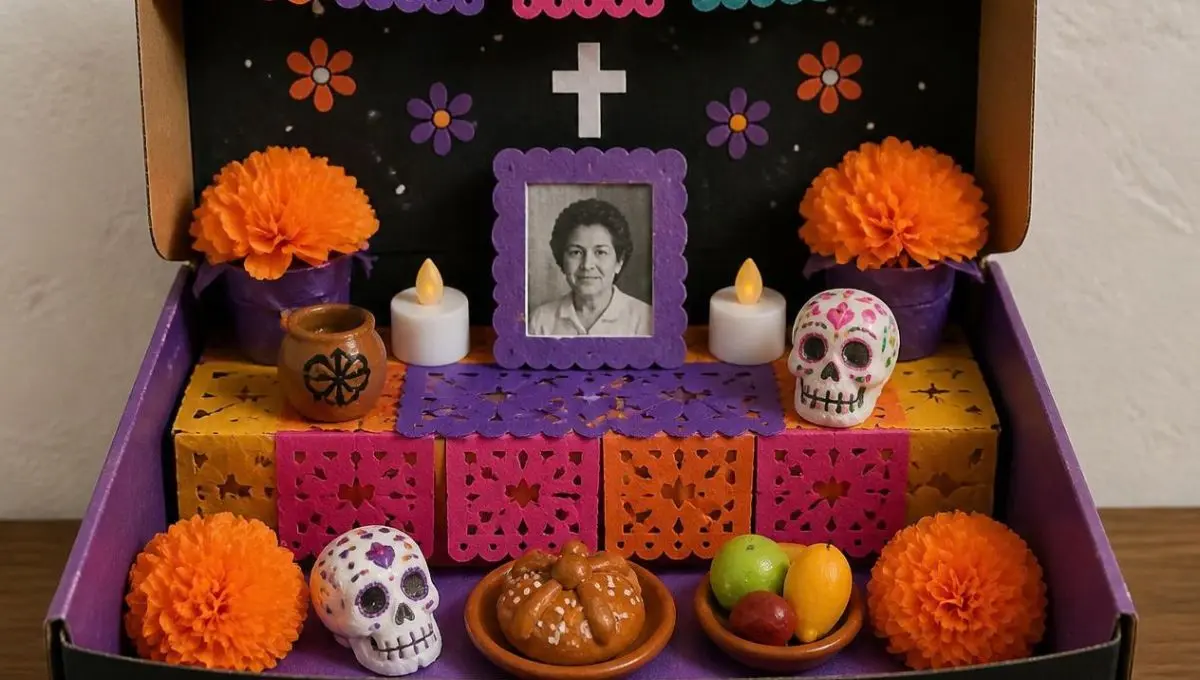
Inspired by this tutorial, this technique allows transforming a single cardboard box into a compact altar with an interior niche and integrated levels.
Materials:
-
1 rectangular cardboard box (shoe box or packaging).
-
Scissors, utility knife, and ruler.
-
Liquid silicone or white glue.
-
Colored papers (orange, purple, and black), papel picado, and miniature marigold flowers (cempasúchil).
-
Battery-powered LED lights or small flameless candles.
Step by step:
-
Open the box by cutting the front panel to form a small display case or three-dimensional scene.
-
Trim away excess cardboard to create an interior shelf and glue it to halfway up the back to simulate the second level of the altar.
-
Line the interior with purple or black paper and place strips of papel picado at the top.
-
Place the image of the departed on the top level, adorn with mini marigold flowers, and place the LED lights at the base.
2. Decorative relief frames for photographs
The images of the loved ones are the focal point of any offering and deserve a prominent frame.
Materials:
-
Flat corrugated cardboard from used boxes.
-
Scissors and ruler.
-
Acrylic paint or white glue with papel picado.
-
Family photograph.
Step by step:
-
Measure the photograph and cut a rectangle from cardboard leaving an outer margin of at least three centimeters.
-
Decorate the edges by painting them in bright colors or sticking scraps of paper.
-
Glue the photo to the back and place the frame on the upper levels of the altar.
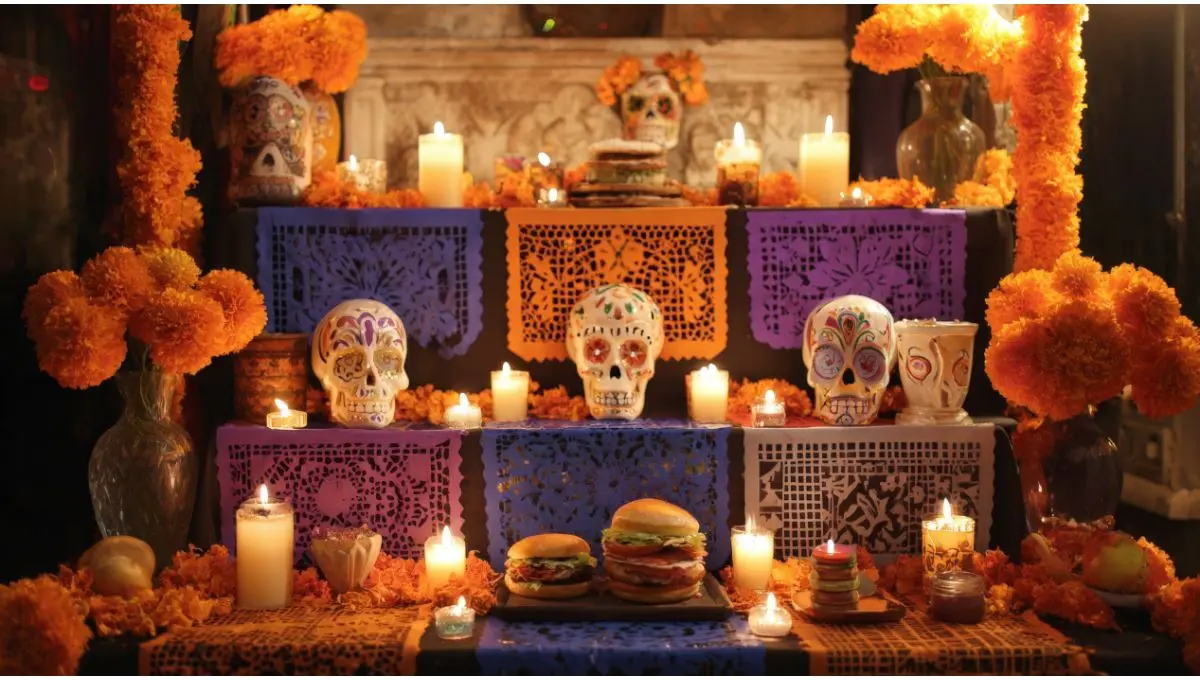
3. Large-Scale Structure with Stacked Boxes Levels
Creating the traditional steps of an altar requires stability to hold votive candles, water glasses, and dishes of food.
Materials:
-
Cardboard boxes of different sizes (from largest to smallest).
-
Adhesive tape
-
Scissors or a utility knife.
-
China paper, crepe paper, or fabrics for covering.
Step by step:
-
Arrange the boxes on a solid base, placing the largest box at the bottom and stacking the smaller ones upward.
-
Secure the joints with sturdy adhesive tape to fix the levels.
-
Wrap the entire structure with china paper or fabrics of traditional colors before placing the photographs and foods.
4. Customizable Mini Altar in a Shoe Box
This idea is ideal for small spaces, desks, or as a family school project.
Materials:
-
1 shoe box with lid.
-
Plastic LED candles (safe for cardboard).
-
Scissors and glue.
-
Paper flowers or marigolds and a miniature pan de muerto.
Step by step:
-
Place the shoebox horizontally and use the lid to create an inner shelf, attaching it with glue. Cover the interior with purple or orange colored paper and add mini papel picado.
-
Arrange the photo at the back, add the lit LED candle, and adorn the base with the miniature elements.
-
Place the arch on the highest level of the offering, fitting it behind the main photograph.
5. Mini flower arches with strips of flexible cardboard
The arch represents the entrance of souls into the earthly realm and can be easily made without purchasing metal structures.
Materials:
-
Long strips cut from cardboard boxes.
-
Stapler or adhesive tape.
-
Crepe paper marigold flowers.
-
Glue.
Step by step:
-
Cut two wide strips of cardboard and join them with a stapler to form a curved arch shape.
-
Glue crepe paper marigold flowers along the entire strip until the cardboard is completely covered.
