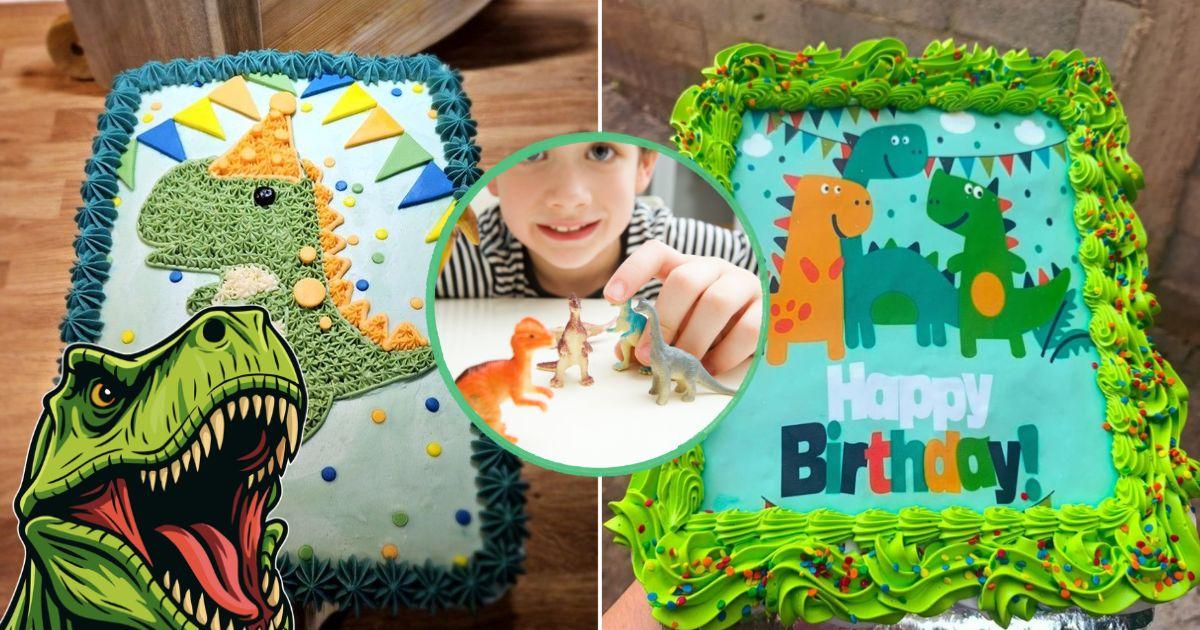
Take your kids’ imagination beyond with a super fun cake themed around their favorite toys while they continue learning.
Organizing a children’s celebration often requires striking visual solutions that don’t take hours of kitchen work but still astonish the little ones; for this reason rectangular cakes offer a wide and stable surface ideal for rendering themed designs without the structural complication of having multiple tiers.
Bring the surprise and transform a basic rectangular cake into a stunning prehistoric scene for the next themed party, with techniques that range from the famous star tip to paper toppers or edible rice prints; you can achieve professional finishes from home adapted to different levels of baking skill.
And indeed, learning to handle different decorative resources allows you to adapt the project to the time available, budget, and experience level of each home, and knowing these alternatives makes it easier to set up the candy table with a personalized touch and a strong visual impact for any age.
3 Fun and Eye-Catching Ways for an Impactful Cake
The fascination with the prehistoric world remains alive among children and adults, making creatures like Tyrannosaurus rex or Triceratops fail-safe choices for themed tables. The combination of greens, browns, and dynamic details brings color and vitality to the display.
Decorating a cake in a rectangular format offers a versatile horizontal canvas that makes it easier to distribute thematic elements. This geometric shape is practical for cutting uniform portions during a celebration and also allows applying everything from cream illustrations to reliefs with prints or three-dimensional figures.
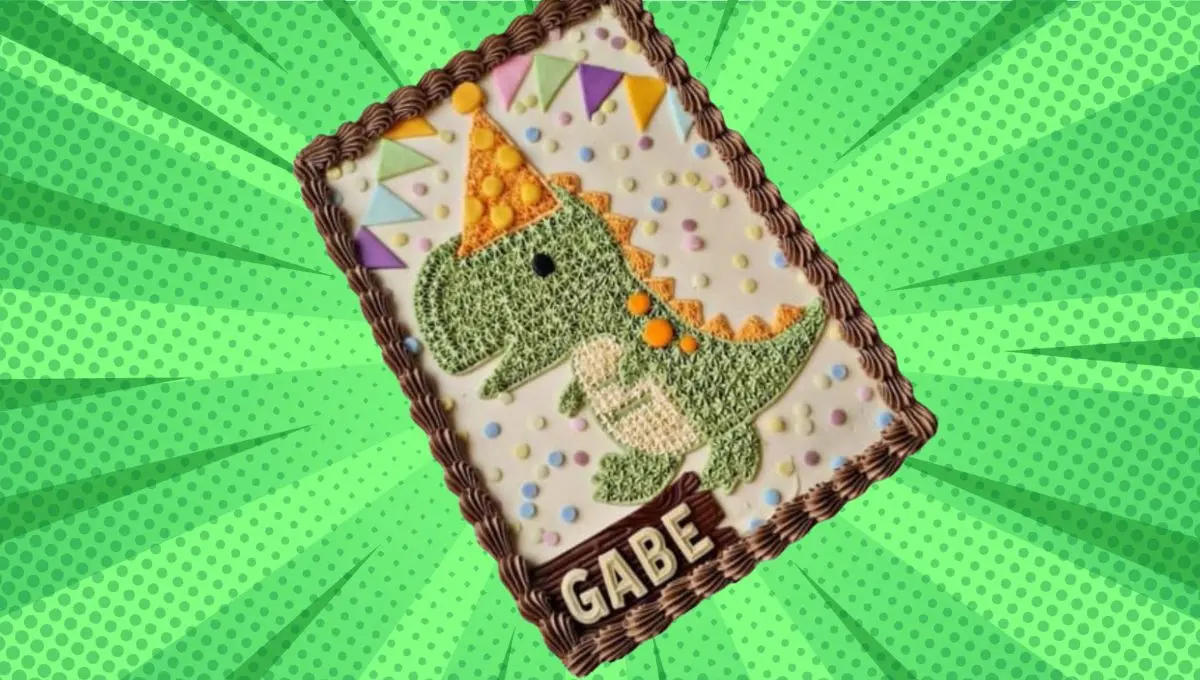
1. Illustration with piping bag and star tip
-
This style creates a central character in relief using small dollops of cream.
-
Cover the surface of the rectangular cake with a uniform layer of white cream or soft buttercream.
-
Draw the silhouette of a dinosaur (for example, wearing a festive hat) on the surface using a fine outlining piping tip.
-
With a small star tip and green-tinted cream, fill in the body of the character by applying small dots with consistent pressure until the area is covered.
-
Add details in contrasting tones (orange for crests or belly) and frame the cake with a scalloped border of chocolate cream. You can add colorful sprinkles and illustrate pennants on the top.
2. Jurassic Scene with Toppers and Island
-
Ideal for creating a three-dimensional setting with cut-out elements.
-
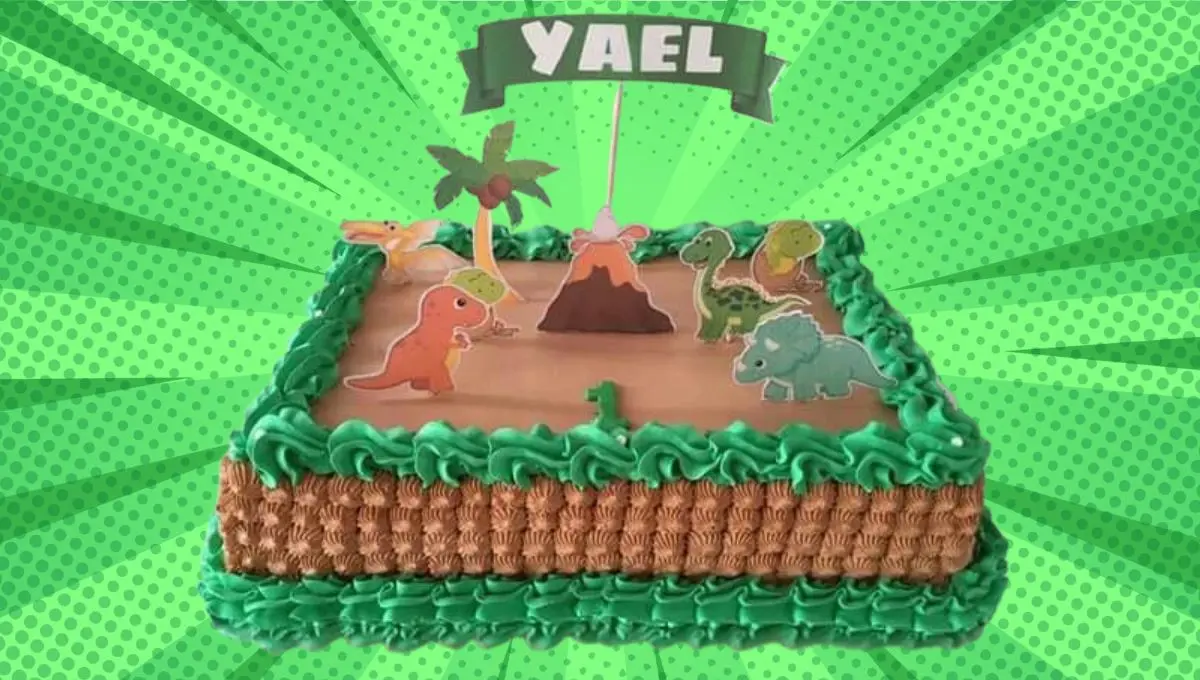
Cover the side edges of the cake with a weaving technique or piping in a brown tone to imitate wood or earth.
-
Smooth the upper center with a terracotta or light brown shade to simulate the terrain, and edge the upper and lower perimeters with rosettes or shells in a green foliage tone.
-
Place paper or cardstock figures (toppers) on sticks, representing an erupting volcano, palms, a pterodactyl, and dinosaurs such as the Triceratops.
-
Top the scene with an upper banner bearing the name of the celebrant.
3. Rice paper sheet or edible sheet
-
The quickest option for a photorealistic finish.
-
Apply a smooth layer of chocolate cream or coffee-tinted cream to the sides of the cake.
-
Place a sheet of rice paper or sugar sheet printed with a realistic image of a Tyrannosaurus rex or your favorite dinosaur on the center of the cake, smoothing gently from the center outward.
-
To hide the seams of the edible paper, use a grass or star piping tip with grass-green cream to create a dense frame around the image.

To ensure a clean and professional finish, the stability of the cream is fundamental; make sure to chill the cake properly before applying edible paper or performing meticulous decorations to prevent it from losing firmness. Likewise, using piping bag couplers makes it easy to change tips quickly during the process without having to empty or waste piping bags.
