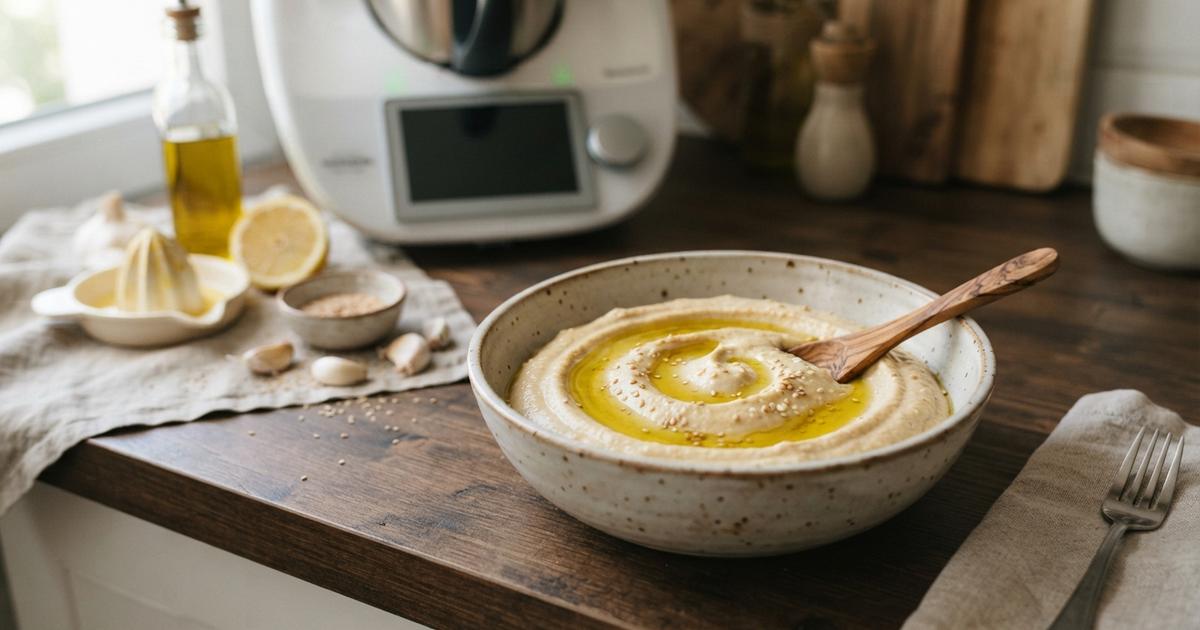
Learn to make this classic recipe of Spanish origin quickly and easily, achieving a creamy, fresh, and full-flavored texture ideal for sharing at any gathering.
The hummus is one of those dishes that has managed to win over tables all around the world thanks to its versatility and its nutritional benefits. Although its origin traces back to ancient culinary traditions, in contemporary cooking it has become an essential staple, especially for those seeking vegan options that do not sacrifice flavor. Preparing this starter at home is a gratifying experience, and thanks to Thermomix technology, it is now possible to obtain a professional result in just ten minutes.
At the first bite, what stands out is the smoothness of the legume perfectly emulsified with the acidic touch of lemon and the deep aroma of sesame. It is a low-difficulty preparation designed to yield up to eight diners, making it perfect for when you have guests over and want to offer something healthy and light. In addition to being a low-calorie and fat-free dish, it is an excellent source of energy. Next, we will guide you step by step so you master this technique and astonish everyone with a homemade hummus of unparalleled texture.
The secrets to a flawless emulsion
Achieving the perfect hummus is not a matter of chance, but of understanding how the ingredients interact when processed at high speed. Here we share the keys so your preparation is a success:
-
The balance of the emulsion: When using the Thermomix, the secret lies in the alternation of speeds. Going from speed five to ten allows the chickpeas to be finely ground while the olive oil integrates, creating a velvety texture that cannot be achieved in any other way.
-
The importance of garlic: It is essential to remove the central part or germ of the head of garlic before processing; this prevents the flavor from being too invasive or heavy for digestion, keeping only the aromatic essence of the ingredient.
-
The temperature of the oil: Use a good-quality extra-virgin olive oil at room temperature to help the emulsion stay more stable when processing, allowing all flavors to unify correctly in the bowl.
Ideas to integrate hummus into your meals
Once you have your mixture ready, the possibilities in the kitchen multiply. Don’t limit yourself to serving it only as a traditional dip, as this hummus is a highly versatile base to elevate other everyday dishes.
-
Versatility on the plate: You can use this preparation as a creamy sauce for pasta with hummus, adding unusual richness and a healthy touch to the pasta, or incorporate it as the starring element in a tasty hummus and avocado wrap.
-
The final touch: Don’t forget that the serving is part of the experience; when serving it in the bowl, add an extra drizzle of extra-virgin olive oil and a little sweet paprika on top to enhance both presentation and the final flavor profile.
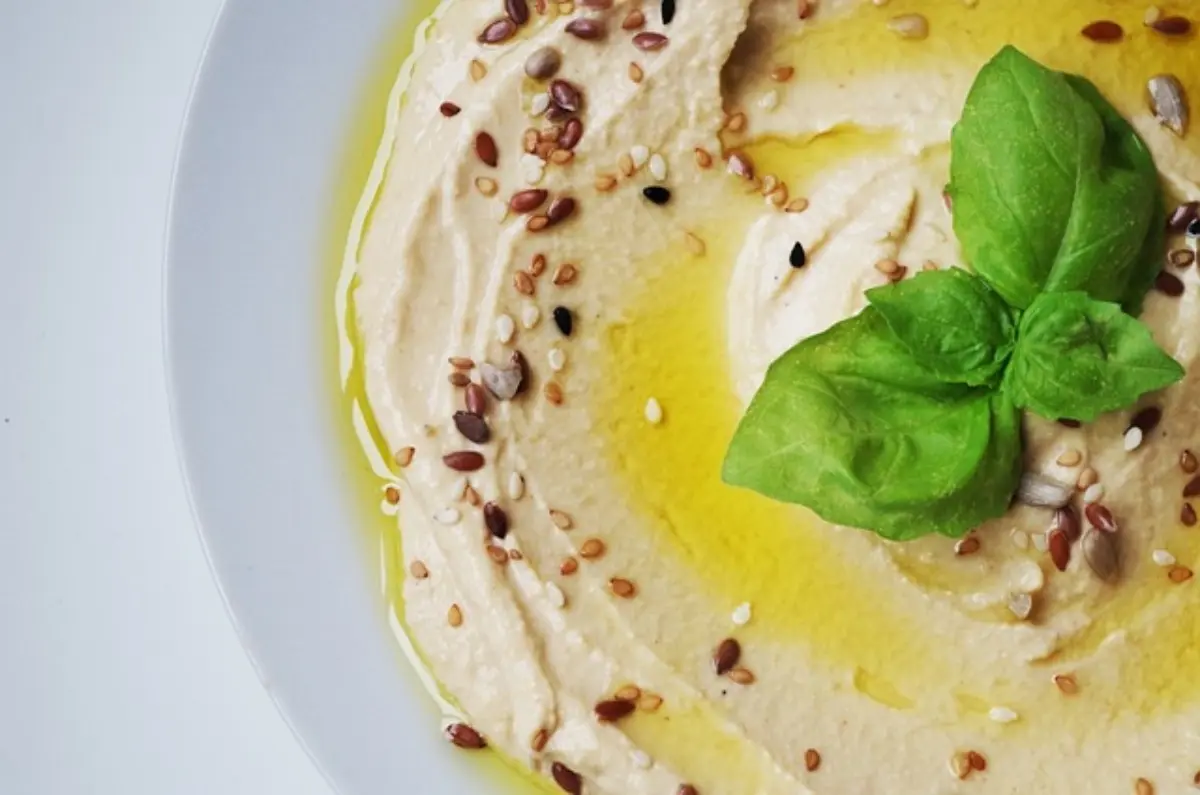
HUMMUS IN THERMOMIX | RECIPE
Ingredients
-
400 grams of cooked chickpeas (one large can)
-
30 milliliters of freshly squeezed lemon juice
-
40 grams of toasted sesame
-
70 grams of extra-virgin olive oil
-
60 milliliters of water
-
1/2 teaspoon of salt
-
1 head of garlic (removing the green germ in the middle)
Preparation
-
Prepare all the ingredients for the chickpea hummus and place them inside the Thermomix bowl.
-
Once the ingredients are inside, program the machine for 30 seconds, alternating the speed from five to ten.
-
When the cycle ends, use the spatula to lower the remnants of ingredients that may have stuck to the walls of the bowl.
-
Repeat the previous process for another 30 seconds at the same speed to ensure a completely homogeneous texture.
-
Remove the mixture from the bowl and serve it in a bowl. When bringing it to the table, you can decorate with an additional drizzle of olive oil and a little sweet paprika.
Enjoying a well-made homemade hummus is proof that eating healthy does not have to be complicated. This recipe, being low in calories, becomes the perfect ally to maintain a balanced diet without sacrificing the pleasure of a good bite.
This article has been generated with AI support and reviewed by an editor. For more information, please see our terms and conditions
