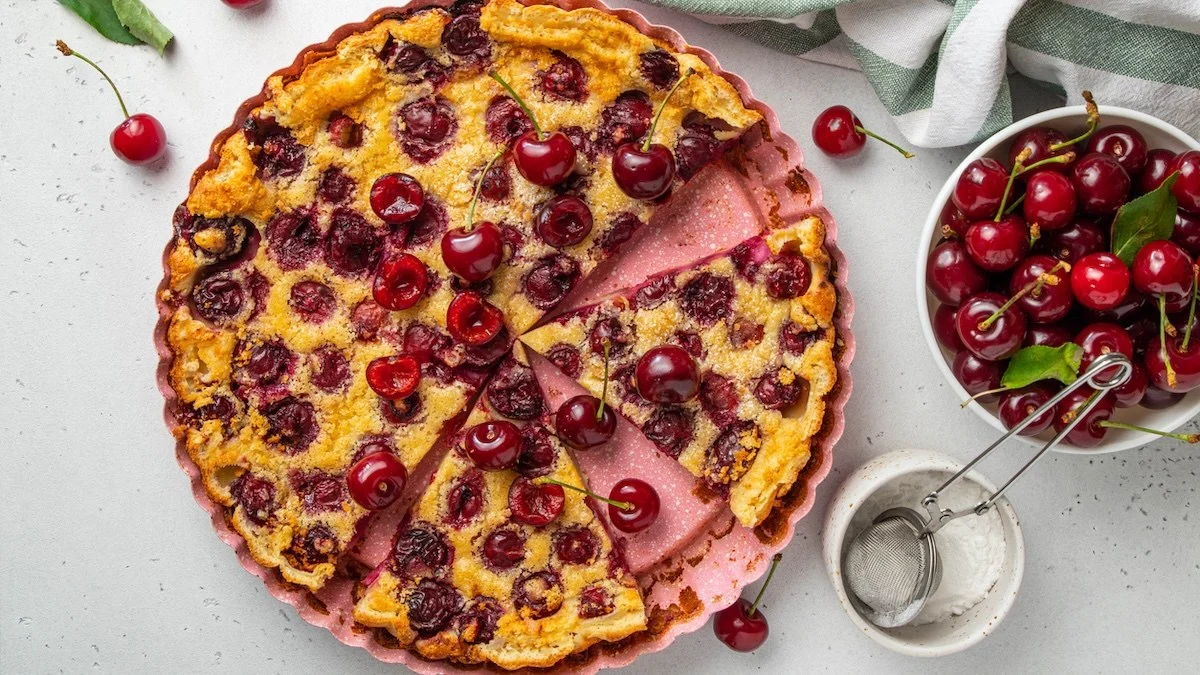
As cherries are finally making their big comeback on market stalls, so too is the wonderful cherry clafoutis returning to our tables! But every summer, there is also the return of the… disappointment. Yes, between a center that doesn’t set and the bottom soaked with the juice of the fruit… In short, we love cherry clafoutis, but it’s true that it’s a somewhat capricious traditional dessert. Yet the recipe hinges on just three simple steps to always respect in order to succeed. Yes indeed, and we’ll prove it to you!
Step number 1: Choosing and Preparing Your Cherries Properly
It all starts at the market. Cherries intended for clafoutis should be firm and well-ripe, but never soft. Indeed, a cherry that is too ripe releases more water during cooking and weakens the whole cake. Hearty varieties, like Burlat or Summit, are particularly suitable because they keep their shape well when baked.
The other often-neglected point that changes everything is drying. After washing them carefully, take the time to pat them dry before placing them in the dish. The residual surface moisture on the fruits adds even more liquid to a batter that doesn’t need any.
Finally, last point on cherry preparation, and not the least: should you pit the cherries in a clafoutis? This is THE debate we’re going to settle right away. No, you do not pit the cherries for a clafoutis. Here’s why: the kernels release discreet almond notes during cooking that will give your dessert its characteristic aroma. The other reason is more technical, but just as important.
A pitted cherry releases considerably more juice during cooking. This juice then wets the batter and prevents it from cooking properly. So the answer is indeed no, we do not pit the cherries. You’ll only need to warn your guests at tasting, but we guarantee it really makes all the difference.
Step 2: Monitoring the Oven Temperature
The oven must not be too hot! Baking at 180°C, no more and no less, allows the batter to cook evenly without the edges drying out before the center has time to set properly. Many culinary disasters come from that urge to go too fast by increasing the oven temperature. We told you: cherry clafoutis is a capricious dessert; you must respect certain conditions to get it right.
The benchmark to rely on to know when to take the dish out is when the clafoutis is golden all over, slightly puffed at the edges but still soft and trembly in the center. A little like a custard that isn’t fully set yet. It will continue to cook a bit outside the oven thanks to residual heat.
Step 3: Let It Rest Before Serving
This is the most often overlooked step. A clafoutis is never eaten straight out of the oven. It’s a dessert that needs time to firm up. As it cools, the batter finishes setting and the texture shifts from trembly to silky. Cutting it too soon risks portions collapsing on the plates.
Allow at least 20 minutes of resting time before serving, or even several hours if you prefer a very cold version, almost like a custard tart.
The 2 Little Extra Secrets That Change Everything
A small detail that can make a big difference is the temperature of the milk. Indeed, warm milk incorporates into the flour much more easily and avoids lumps without having to mix too much.
Because yes, this is also a widespread mistake! If you’re used to beating the eggs and sugar vigorously as with any cake batter, the clafoutis really doesn’t like it. By incorporating too much air, you get a batter that rises too much in the oven… then collapses abruptly as it cools, leaving a sunken center and a disappointing texture. The right method for stirring the clafoutis batter is to mix gently, just enough to homogenize everything, without trying to whip it into foam. You’ll clearly see the difference!
Cherry Clafoutis: The Traditional Recipe Explained Step by Step
Ingredients for 6 servings
– 500 g firm cherries, stalked and well dried
– 3 whole eggs
– 60 g granulated sugar
– 100 g sifted flour
– 300 ml warm milk
– 50 g melted butter
– a pinch of salt
– Butter and sugar for the mold
Preparation of the traditional clafoutis:
1. Preheat the oven to 180°C. Butter the mold and dust with granulated sugar, tapping to remove the excess.
2. Place the well-washed and dried cherries at the bottom of the dish.
3. Beat the eggs with the sugar and salt without foaming the mixture. Add the sifted flour, the melted butter and the warm milk. Stir until a smooth batter is obtained.
4. Pour the preparation over the cherries and bake for 35 to 40 minutes, keeping a close watch toward the end of cooking.
5. Let the cherry clafoutis rest for at least 20 minutes.
Can You Variate the Recipe Without Ruining It?
Clafoutis tolerates a few adaptations as long as you always respect the basic proportions between liquid, eggs, and flour. For example, you can replace part of the milk with cream (200 ml milk + 100 ml heavy cream, preferably). You’ll obtain a richer and more velvety result.
You can also add a spoon of kirsch or rum to the batter to intensify the aroma. Otherwise, add the seeds of a vanilla bean for more sweetness. However, do not double the amount of cherries compared to the classic recipe, or you will completely unbalance the texture of the dessert. Too many fruits means too much juice, and a cake that won’t set in the center.
The cherry clafoutis keeps very well in the refrigerator, well wrapped, for two to three days. In fact, some even find it better the next day! The aromas of cherry and almond (thanks to the kernels) have plenty of time to diffuse into the batter this way.
