No ice cream maker? No problem! We’re sharing with you a simple and accessible method using equipment from any kitchen that yields a very creamy ice cream, without crystals and without effort. Here it is in just 3 very easy steps.
Why do we so often mess up homemade ice cream?
Making ice cream without an ice cream maker seems simple. You blend, you freeze, and that’s all. Yet, almost every time you end up with a compact, grainy block that’s impossible to scoop and not enjoyable to taste. A disappointing result that has a very precise explanation: the formation of ice crystals.
When a preparation freezes without being worked, the water it contains clumps into large crystals. And it is these that give a hard, grainy texture that is so frustrating. The ice cream maker, on the other hand, churns continuously to break these crystals as they form. Without it, you have to reproduce the mechanism manually. A technique shared by many chefs and that we’re giving you so you can easily recreate it at home.
The foolproof technique: the whipped cream incorporation method
It’s the secret shared by top pastry chefs when they have to work without professional equipment. It rests on this simple principle: incorporate air before freezing and then break the crystals as it sets in the cold.
Step 1: prepare a silky base
It all starts with the base. Mix 4 egg yolks with 120 g of sugar until the mixture lightens and forms a ribbon. Then heat 250 ml of whole milk without bringing it to a boil and gradually pour it over the previous mixture while whisking. Return everything to gentle heat, stirring constantly until you obtain a custard that coats the spoon. Let it cool completely, ideally in the refrigerator for 2 hours.
Step 2: fold in the whipped cream, a decisive move for what follows
This is where the key step happens. Whip 250 ml of heavy cream (35% fat, it’s important) until it forms a soft whip, not too stiff. Gently fold it into the cooled and loosened custard with a spatula, lifting the mixture rather than whipping vigorously. This specific step introduces air bubbles that will reduce crystal size during freezing. A manual alternative to the ice cream maker’s turbine.
Step 3: freezing in three passes, a little-known trick
Once steps 1 and 2 are completed, pour the mixture into a wide, flat container (a gratin dish works perfectly) and place it in the freezer. Now, every 45 minutes for 3 hours, remove the dish and whip the mixture vigorously with a whisk or blend it with an immersion blender. Three passes are more than enough.
This action breaks the crystals that are forming and reintegrates air each time. After the third pass, return it to the freezer for the night without touching it. The next day, our homemade ice cream is ready to be enjoyed!
Variations possible with this no-churn ice cream technique
We’ve given you a neutral custard base. But you can obviously flavor it to infinity for homemade ice creams that are ever more indulgent and original!
Some delicious examples to try :
- Vanilla : add a scraped vanilla bean to the hot milk;
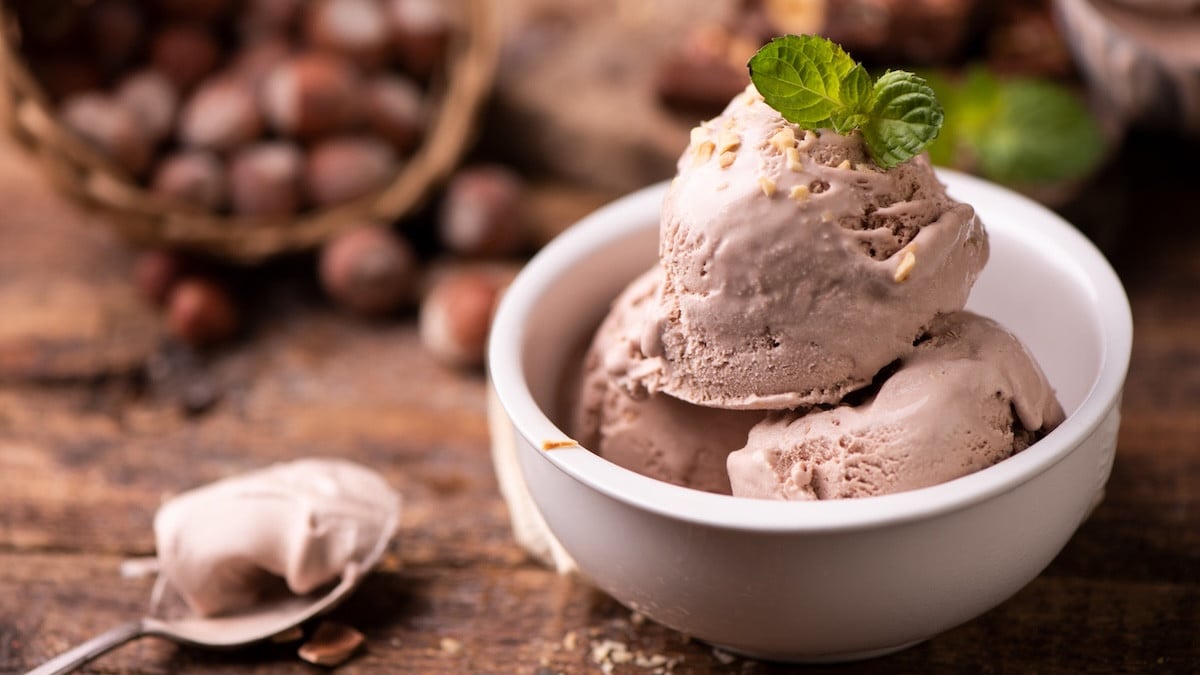
- Chocolate : incorporate 100 g of dark chocolate melted into the custard while it’s still warm;
- Coffee : add 2 teaspoons of instant coffee to the hot milk;
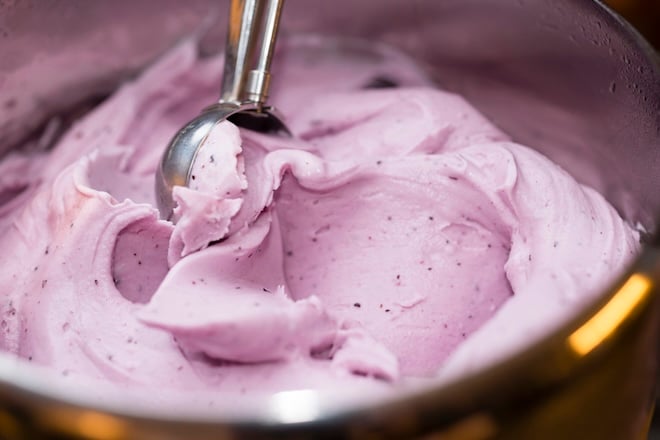
- Fruits : replace half of the custard with a very sweet fresh fruit coulis (strawberry, raspberry, mango…).
The two bonus ingredients for pastry chefs: sugar and alcohol
There are two ingredients that naturally help limit crystal formation: invert sugar (or honey, more accessible) and a very small amount of alcohol. A tablespoon of vodka or white rum, colorless and without a strong flavor, will lower the freezing point and keep the ice cream softer after freezing. You won’t taste it on the palate but the difference in texture is remarkable!